
Allow me to introduce myself! My name is Emily. I am a happily married mother of 5 children ages 17-2. 4 girls and 1 boy who is lucky enough to be smack dab in the middle. You may notice that there is quite the gap between our baby and the next kid up. Yep, we were done. For 7 years we will done and then this little sweety snuck under the fence. I am madly in love with my high school sweetheart and I would dare say he is one of the very best things that ever happened to me! I love to cook, craft, sing and I am doing my best to lose some poundage. I am an active member of my church and love doing all I can to serve in any capacity! I am a craft blog addict and love seeing all the great ideas the ladies in cyber space come up with!! Ya all ROCK!! I am so excited to start my very own craft blog and present my first tutorial to you!! (Go easy on me, I’m
the new kid on the block after all)
Alright so this is a memories memory game. I made them for my neice and nephews for Christmas and they loved them! (I saw something similar on a blog months and months ago and changed it to make it mine and I can not remember where it was from so if it was you please tell me and I will be more than happy to give credit where credit is due)
Here is what you will need:
1. A memory game
2. Double Prints of the photos you intend to use.
3. Modge Podge and brush
4. Scissors
5.A container to put your new game in if you don't intend to put it back in the original box
6. an acid free pen unlike me the bad naughty baby who used a plain ol' ball point pen
 1. Open the box (Tee Hee!)

 2. Pop the cards out of the frame and save the frame. It makes a great tool for tracing and sizing the photos to match the cards perfectly!
 3. Trace the picture

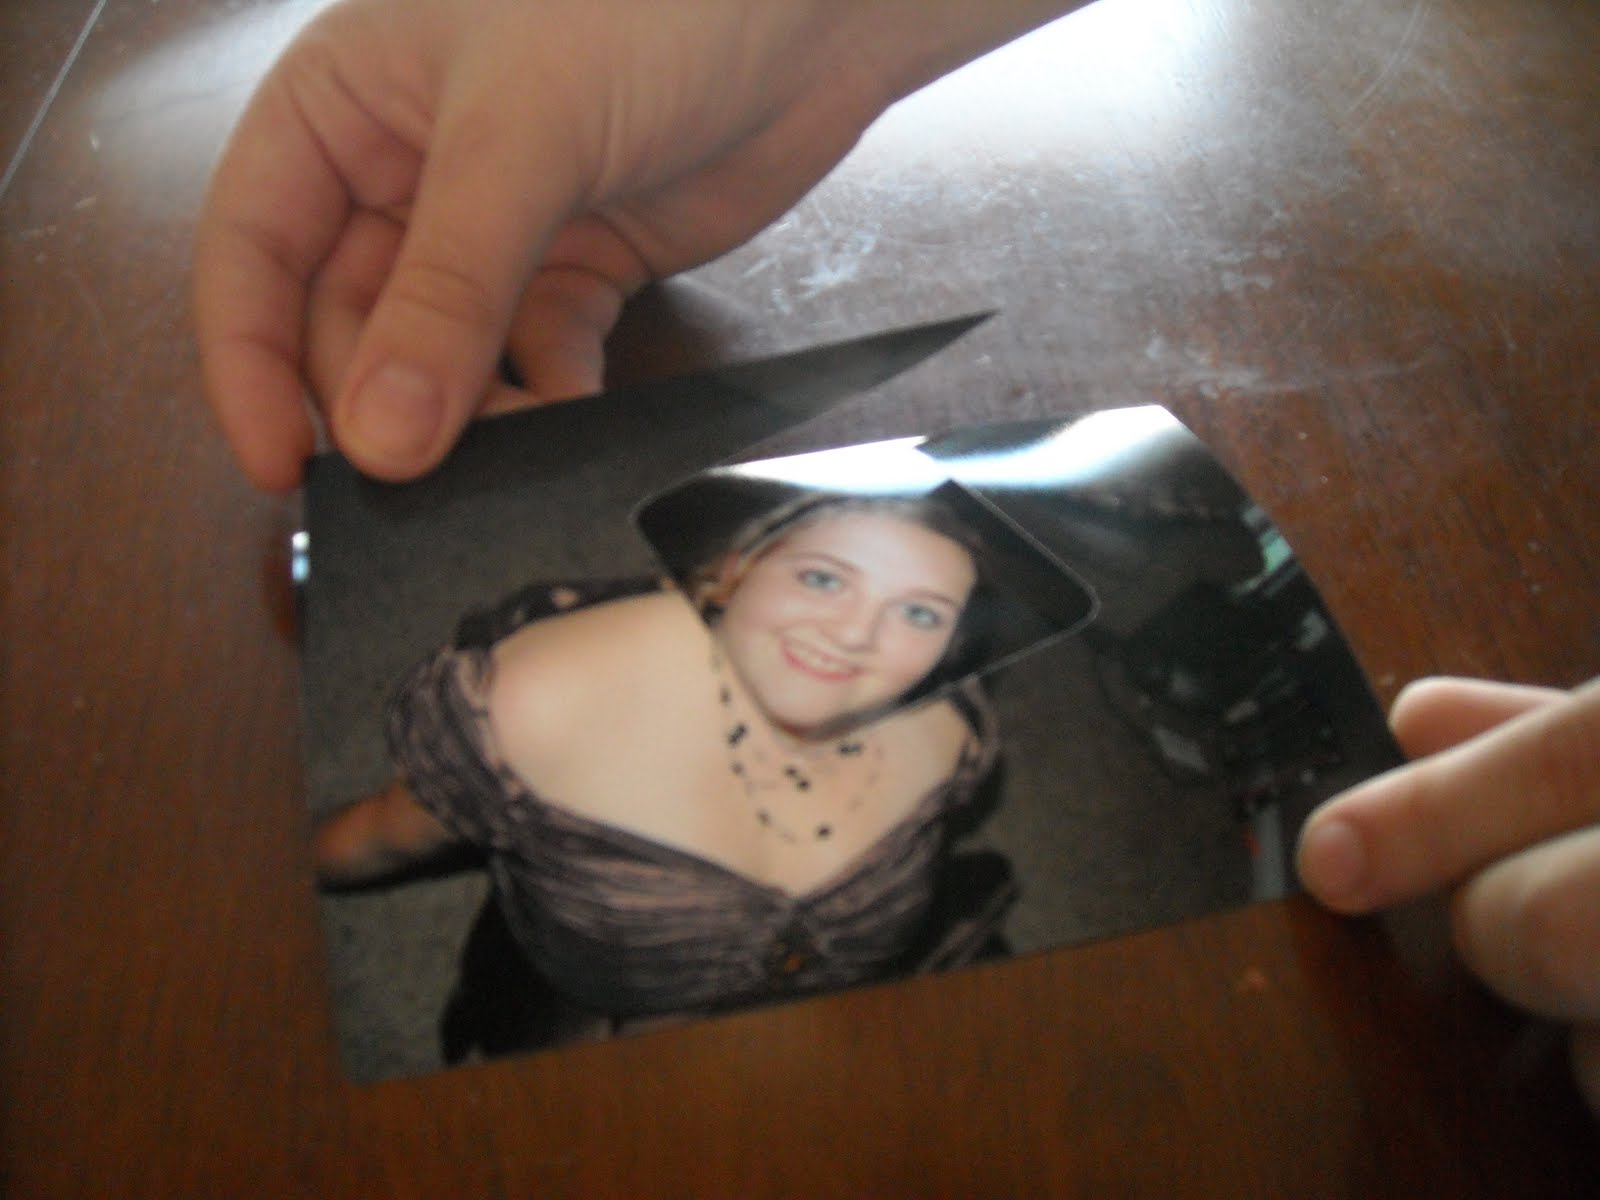
 4. Use the first photo as a templet so you will know exactly where to cut the second print. (So the pictures will "match")
5. Modge Podge the photos to the original memory cards and add a coat to the top as well to seal.


 6. Embelish your container how ever you see fit! I also made some vinyl for the lid that said the childs name. Ok so.....? what do you think? Check back tomorrow! There is more to come!


I need to do this for Lola and Nicco!
ReplyDeleteI love this idea and have been wanting to do something similar for a while. It's a perfect way for kids to become familiar with family that that lives far away!
ReplyDeleteWhat a cute idea!!
ReplyDeleteThanks for linking up to I'm Lovin' It! Have a GREAT weekend!
Wow what a fabulous idea! Thanks so much for posting the tutorial.Would love to have you stop by the Sunday Showcase Party if you get a chance ~ Hope you are enjoying your weekend! This is super cute...I think my son would really enjoy this!
ReplyDeleteThanks so much for stopping by and sharing at the Sunday Showcase Party! I greatly appreciate it! I think this game idea is super cool! Hope you have a great week! ~ Stephanie Lynn
ReplyDeleteHi Emi! I'll be featuring your game today! Love it! Stop by and grab a featured button if you like! Thanks so much for joining the Sunday Showcase! ~ Stephanie Lynn
ReplyDeleteWhat a cute idea! I really really love it.
ReplyDeleteThanks for Hookin' Up with me at my first link party!
Wow! You did great for your first post AND your first tutorial. I'm a new Follower who jus' found you by searching for memory games on craft blogs. Welcome aboard.
ReplyDelete~ Yaya